1Get a camera OpenIPC runs on
Buy one with OpenIPC already installed, switch one over the air, or identify the one you have. Four ways, easiest first, and none of them needs a soldering iron.
2Find its installation guide
Once you know the board or the chip, its page says whether OpenIPC installs on it. For a supported chip the wizard assembles a firmware image and a step-by-step guide for your exact configuration, right in your browser. Bought one with OpenIPC installed? You are already done.
3Back up, then flash
Follow the generated guide. It starts with a full backup of the stock firmware — do not skip it.
Honest warning
Flashing can brick a camera. The guide shows you how to make a full backup first, and Coupler can handle the safe path on supported models. If in doubt, ask in the chat before you flash.
What you get
A clean Linux system with the Majestic streamer: RTSP, ONVIF, WebRTC, and HLS out of the box, a web interface, and full root access. Your camera, actually yours.
Two editions
Lite fits 8 MB flash chips and covers the essentials. Ultimate adds extras like cloud streaming, tunnels, and more codecs — it needs 16 MB flash.
The web interface
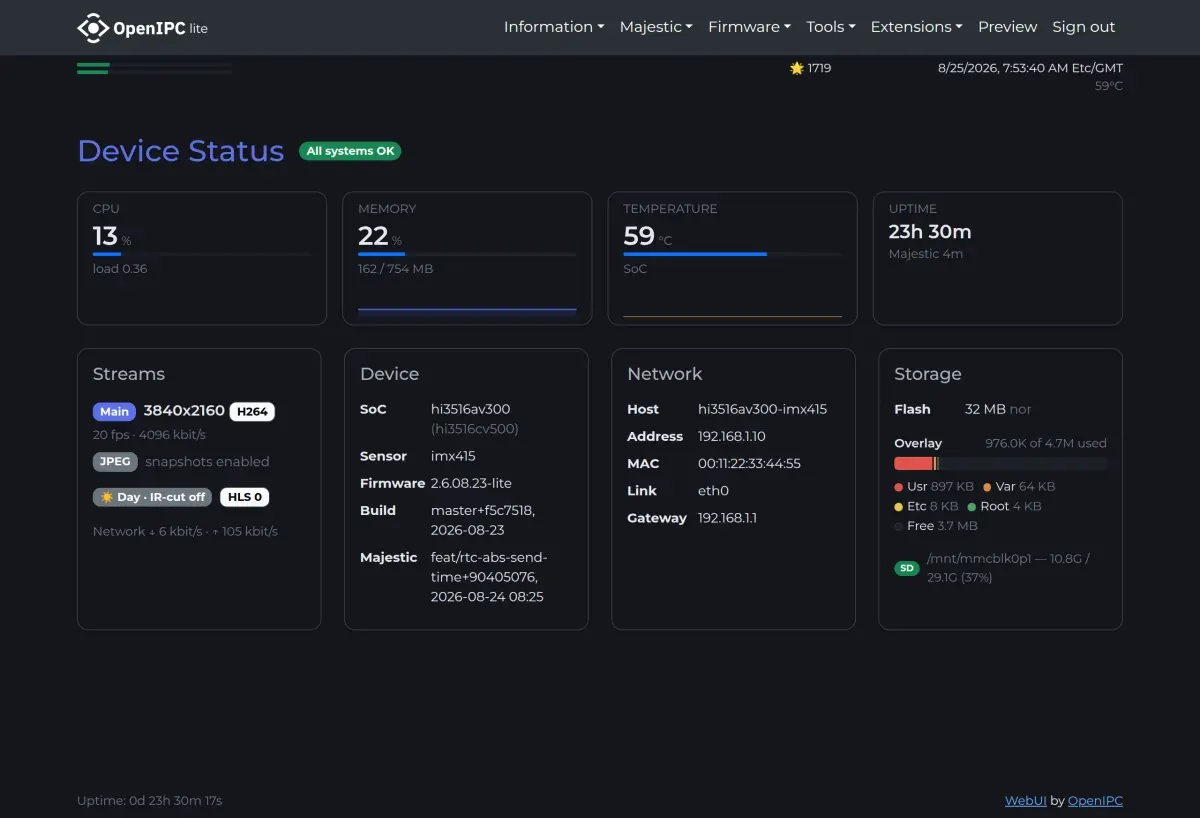
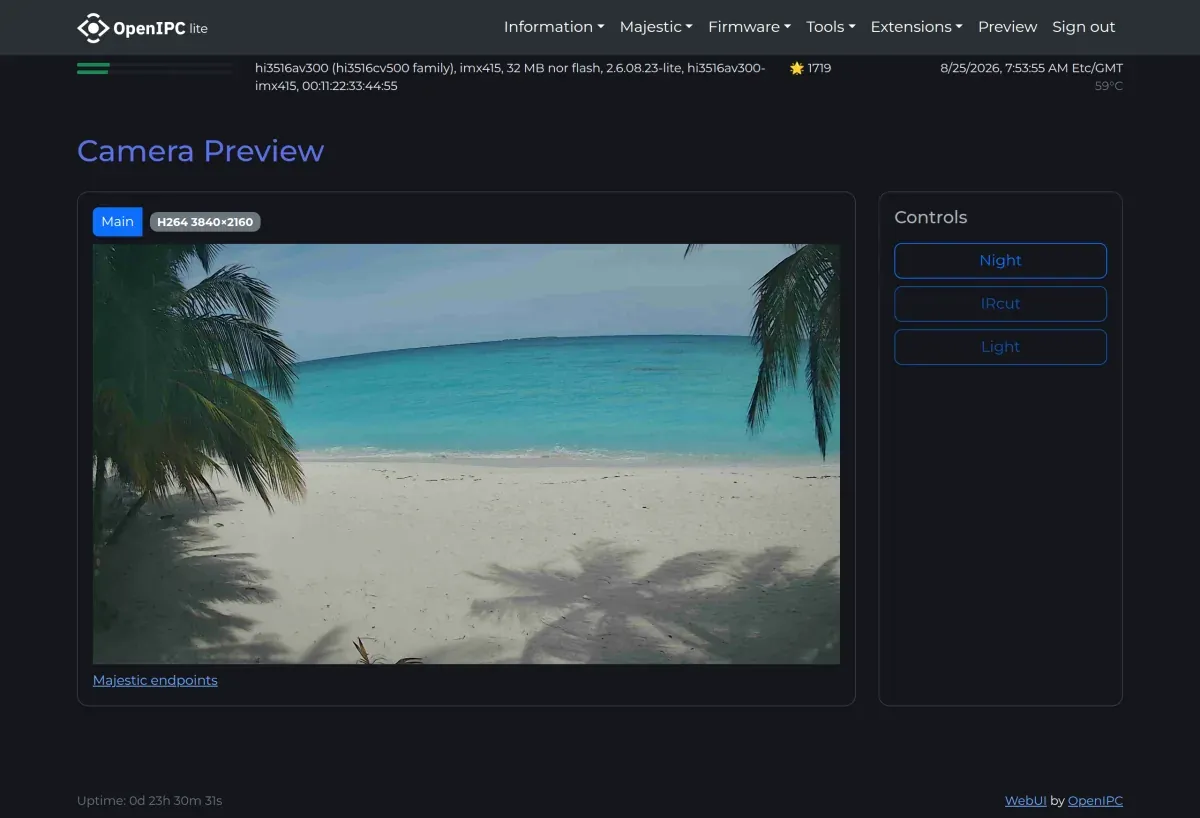
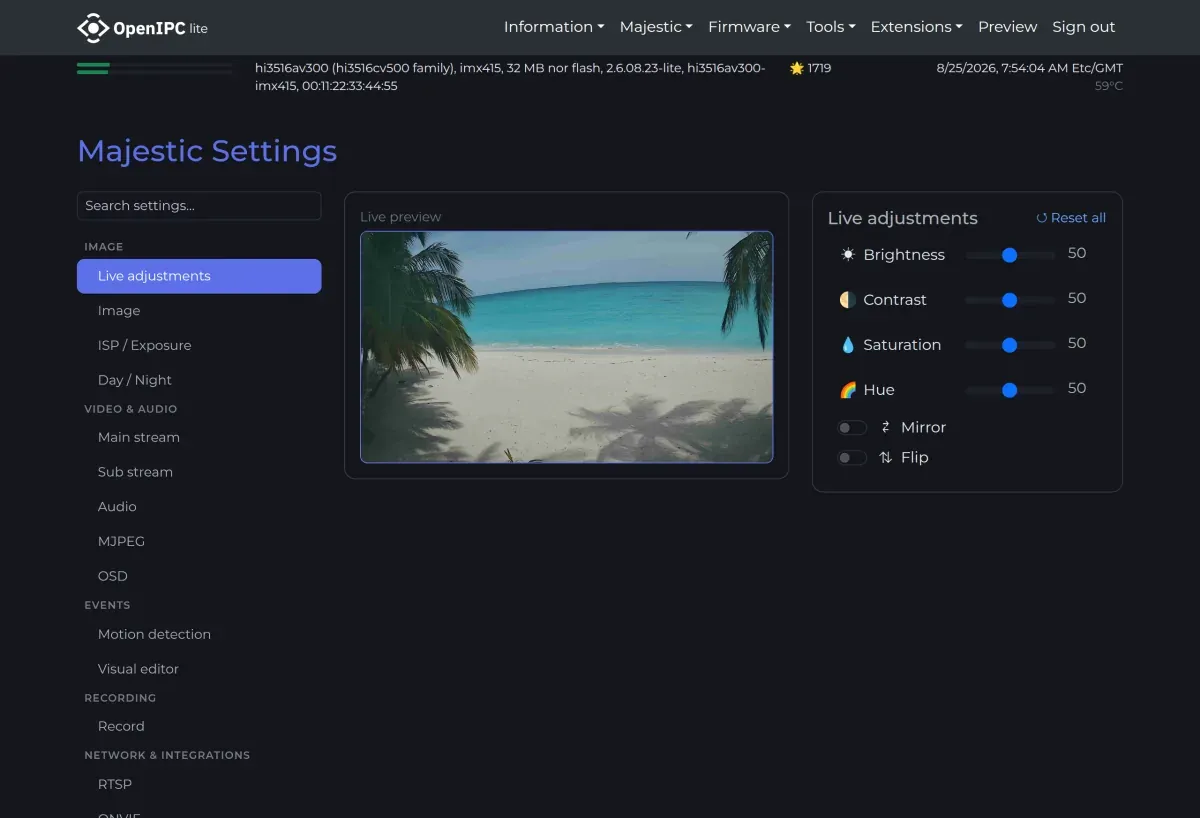
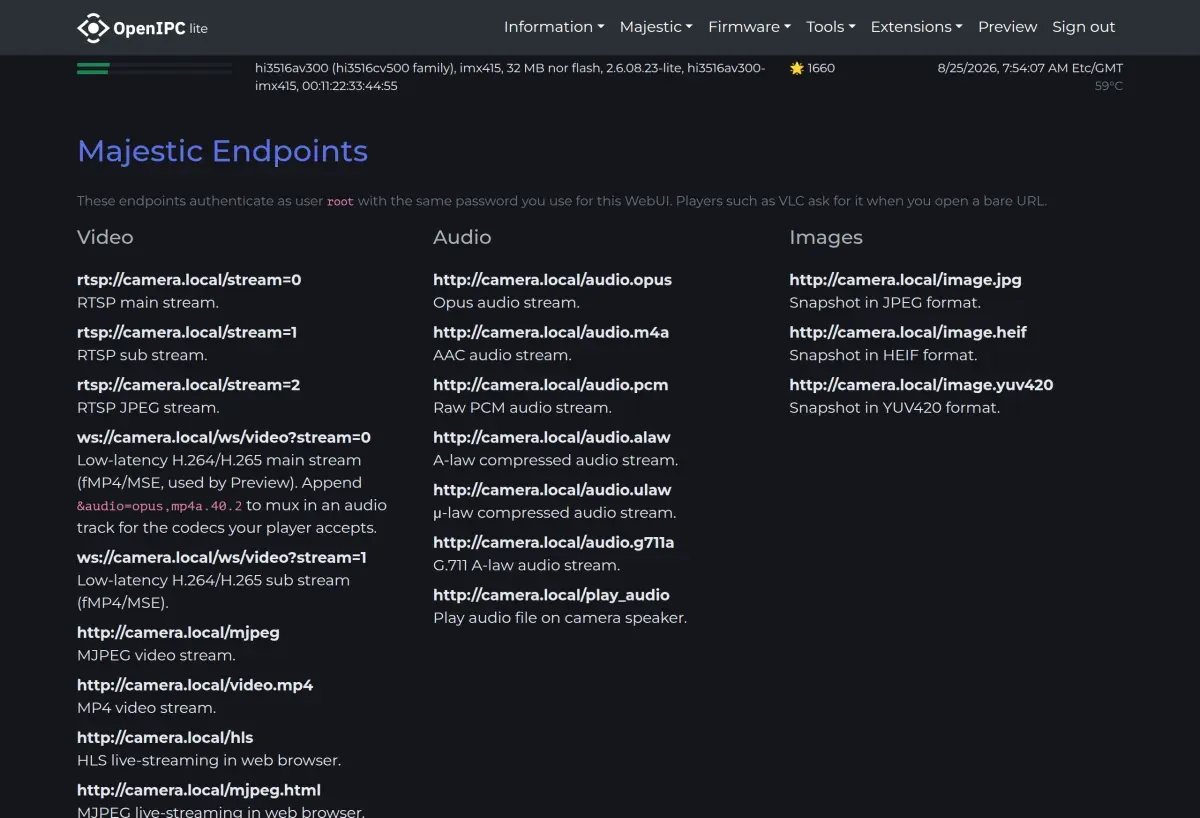
Then join the Open Wall
One setting in the web interface puts your camera's snapshots on our live Open Wall — say hello to the community.
Stuck?
The community answers questions every day. Ask in the chat — include the label on the camera and a photo of each side of its board.